Is it ok to consider plants your placeholder for pets? I've never really thought about this before, but we're not allowed pets in our apartment, and it seems that somehow, in the blink of an eye, Sarah and I have acquired quite a few plants. It's almost as if they're multiplying. I don't remember buying all these plants.*
*Editor's Note: It's because we didn't buy them. We smuggled them home on a plane from San Francisco.
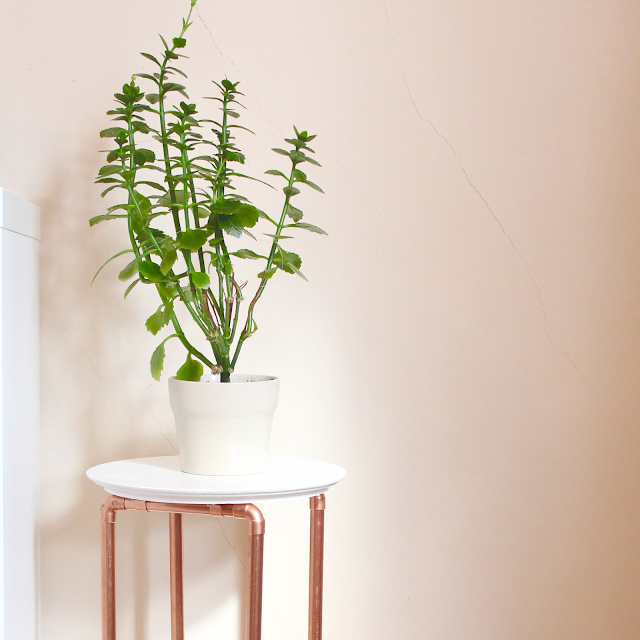
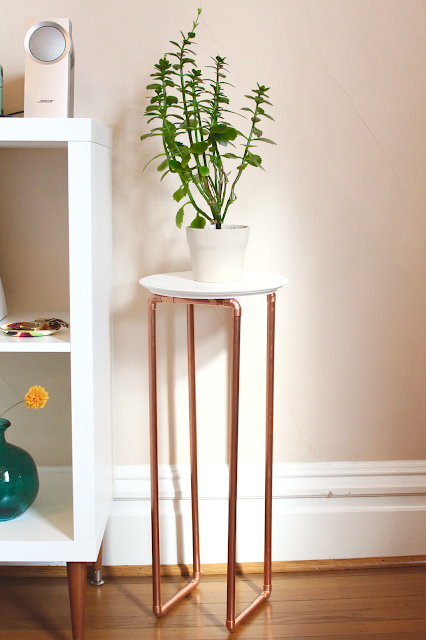
Anyway, regardless of how many plants we do or do not have, we certainly need a place to put them! Our apartment isn't huge, and we don't have many windows with sills big enough for plants. We need a stand that raises the plant up to catch some of the sun's precious rays, but doesn't take up too much space. Viola! Copper leg plant stand to the rescue.
There are tons and tons of versions of similar plant stands like this out there on the web, but here is Sarah's and my simple little version.
Here's what you need:
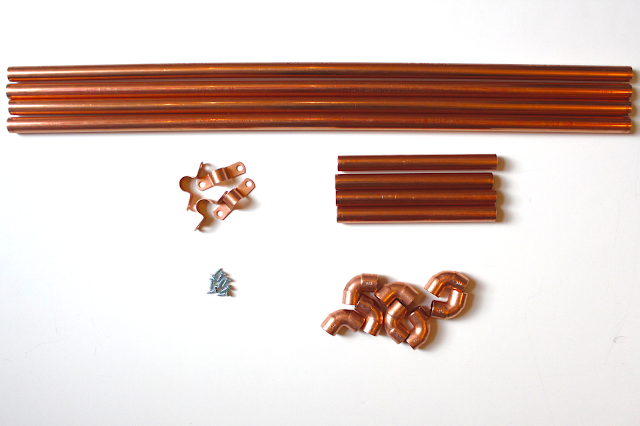
- 1/2" diameter copper pipe (4 pieces 2' long, 4 pieces 6" long)
- 1/2" 90° elbow joints (8 pieces)
- 1/2" copper braces/straps (4 pieces)
- 8 small screws
- Piece of circular wood (we used a clock face)
- Wood putty or filler, if needed
- Pipe cutter
- Paint of your choice
Home Depot sells 1/2" copper pipe in 10 foot segments. We decided on the dimensions above knowing we could get it all from a single piece. You can either cut the pieces to size at home with a pipe cutter, or a Home Depot employee can cut it to these lengths for you right then and there.
Here's what you do:
- If you're using a clock face like we did, use wood putty or wood filler to fill the hole in the middle.
- Paint your wood with color of your choice.
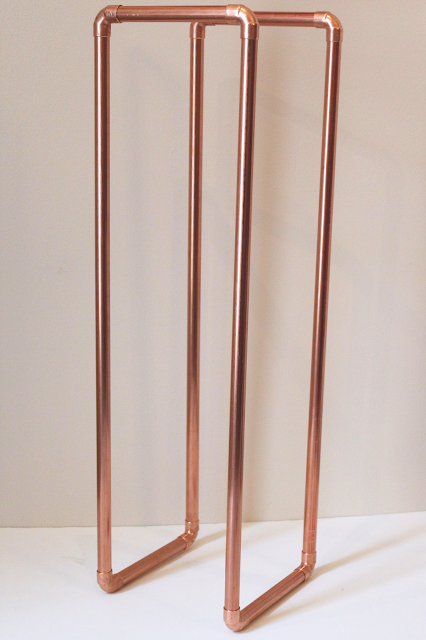
- To assemble the pipe, we made what I'm calling an "infinity U." I'm wondering if you can figure out what shape I mean by this (to me, it is very descriptive.) If not, just look at the pictures and replicate the shape!
- Our joints all fit very snug (some even needed to be hammered in the whole way) so we didn't use any glue or adhesives. If your joints seem loose, add super glue to the ends of your pipes to keep them secure. Wipe away excess glue.
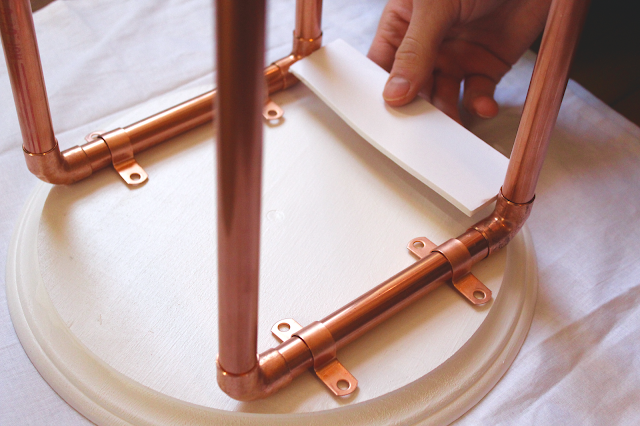
- Place your pipe legs on the bottom of your wooden circle, and mark the correct spots for your braces to be attached. We used a 6" spacer made out of foam board to make sure the pipe legs ran parallel from top to bottom.
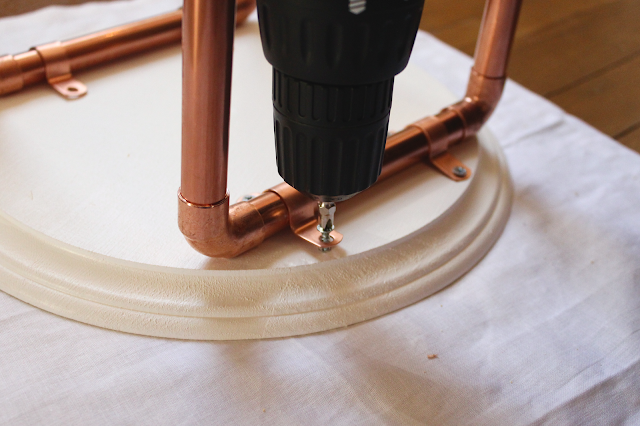
- Drill pilot holes before attaching the pipe with the braces to avoid splitting your wood.
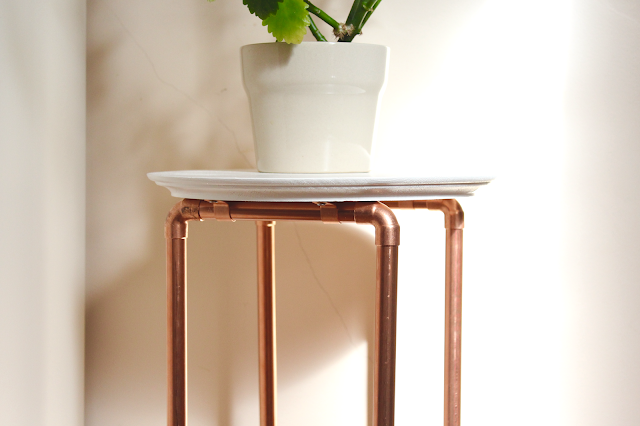
- Set it up and you're done!
I really love how this turned out: sleek, effective, beautiful, and clean. It's already got a perfect home sitting in some of the only sunlight coming in our apartment. I think the other plants are getting jealous.
Sarah & Nick


2 comments
This is such a cute table! Love it and can't wait to try it out :)
ReplyDeleteThanks, Gretchen! :)
Delete